
How to Install Oracle 19c

Introduction
Oracle Database 19c builds upon the innovations of previous
releases such as Multitenant, In-Memory, JSON support, Sharding and many other
features that enable Oracle’s Autonomous Database Cloud Services.
This latest release of the world’s most popular database also introduces new functionality, providing customers with a multi-model enterprise-class database for all their typical use cases, including:
This latest release of the world’s most popular database also introduces new functionality, providing customers with a multi-model enterprise-class database for all their typical use cases, including:
- Operational database use cases such as; traditional transactions, real-time analytics, JSON document stores and Internet of Things (IoT) applications
- Analytical database use cases such as; traditional and real-time data warehouses and data marts, big data lakes and graph analytics
Download & Install
1. Download Oracle 19c
Click to download site

2. Unzip installation zip folder and execute run Installer like the following the screenshot

3. If you want to create database while in this installation
process, Click “Create and configure a single instance database” or if not
select Set up software only” option. And click ‘Next’.

4. If you want to install on your laptop or desktop, select
‘Desktop class’ or select 'Server class’ to install the server and click ‘Next’.

5. Select Enterprise Edition and click ‘Next’.

6. Define home folder and click ‘Next’.

7. In this step, we should define the purpose of the database. If you
want to create a general OLTP system for transaction process, Select ‘ General
Purpose/Transaction Processing’ option or If you want to configure the OLAT system
to analyst data, You should select ‘ Data warehousing” option. Click ‘Next’.

8. Define the global database name and SID. Click ‘Next’.

9. In this step, you can enable Automatically Memory Management
option & also you can define memory for database instance(SGA & PGA).
Click ‘Next’. (Don't try you change the character set if you want to store the English
language based data in your database or data warehouse.).

10. If you want to define datafiles location as per your
requirement, Select ‘File system’ option,. if you select ‘Oracle Automatic
Storage Management’, the system will define the location of the datafiles. (System will create a subfolder in Oracle home folder to store data files"). Click ‘Next’.

11. If you have oracle enterprise manager cloud controller, You
can register your database. if not, Click ‘Next’ to continue.

12. If you want you can enable or disable the recovery option. Click ‘Next’.

13. You can define a password for the database admin account. You can
define the same password for both ‘SYS’ and ‘ SYSTEM’ account or you can define
difference passwords for each account. Click ‘Next’.

14. In this step, you can define operating system user groups for
each operation. Keep default settings or you can change settings. Click ‘Next’.

15. You can select ” Automatically run configurations scripts ” option
for running 'root.sh' script automatically. Click ‘Next’.

16. Check prerequisite. Click ‘Next’.

17. Summary of installation. Click ‘Install’ Start the installation
process.

18. Installing……Click ‘Yes’.

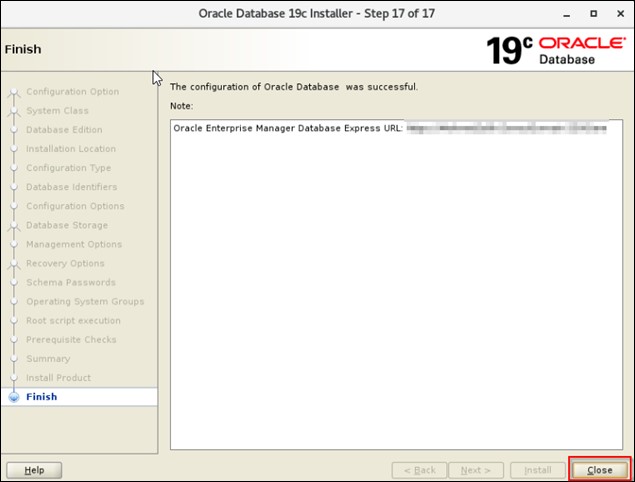
19. Oracle Database 19c installation is completed. This is a URL to EM.
Click ‘Close’ to close the window.
20. Oracle EM.

Please, comments about this tutorial.
How to Install Oracle 19c
 Reviewed by Lilantha Lakmal
on
11:39:00 AM
Rating:
Reviewed by Lilantha Lakmal
on
11:39:00 AM
Rating:
Reviewed by Lilantha Lakmal
on
11:39:00 AM
Rating:


No comments: